
Web Hosting With Raspberry Pi 5
If you're looking to host a small website or web application, the Raspberry Pi can be a surprisingly powerful and affordable solution. While it’s not built to handle massive amounts of traffic or run resource-heavy, dynamic websites, it excels at serving lighter content. For example, static websites, personal blogs, portfolios, or even internal tools and dashboards can run smoothly on a Raspberry Pi. It’s energy-efficient, easy to set up, and gives you full control over your hosting environment—all from a computer that fits in the palm of your hand.
Whether you're a hobbyist, student, or developer experimenting with web technologies, the Raspberry Pi offers a great way to dive into web hosting without the need for expensive infrastructure.
Raspberry Pi Preperation
Before diving in, it's important to make sure your Raspberry Pi’s operating system is fully up to date. This ensures you have the latest security patches, software improvements, and package versions. To do this, open the terminal and run the following two commands to update the package list and upgrade any outdated packages:
sudo apt updatesudo apt upgrade -yInstalling Apache2
The first step is to install the Apache2 web server on your Raspberry Pi. If you're unfamiliar with Apache, it's one of the most widely used web server software packages. It allows your Raspberry Pi to serve web pages—like HTML files—to visitors through their web browsers. To install Apache2, simply open the terminal and run the following command:
sudo apt install apache2 -yIs Apache2 running correctly?
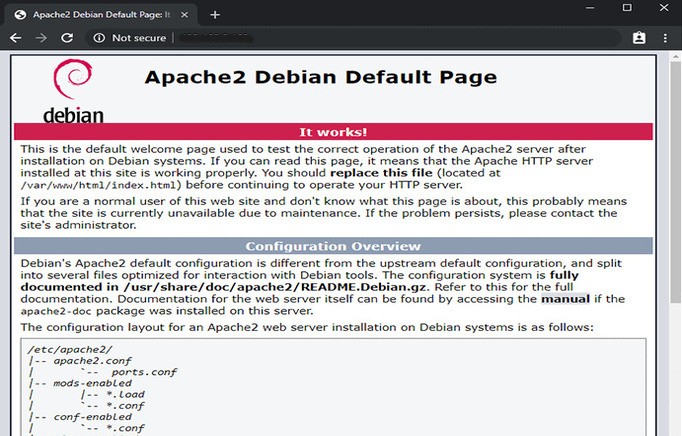
With Apache2 now installed, your Raspberry Pi is running a basic web server. At this stage, it can serve static content—like plain HTML files—to any web browser on the same network. To confirm that Apache is working correctly, open a web browser and enter your Raspberry Pi’s IP address. If everything is set up properly, you should see a default Apache welcome page with some placeholder text. If you're not sure what your Pi’s IP address is, you can find it by running the following command in the terminal:
hostname -IApache2 Debian Default Landing Page
Open a web browser and enter your Raspberry Pi’s IP address in the address bar. If everything is set up correctly, you should see a default Apache page load—similar to the one shown below.
Modify Files without Root Privileages
To modify files in the /var/www/html directory without needing root privileges, we need to adjust the permissions. First, add your current user ($USER) to the www-data group, which is the default group used by Apache2. Next, change the ownership of all files and folders within /var/www/html to the www-data group to ensure proper access.
sudo usermod -a -G www-data $USERsudo chown -R -f www-data:www-data /var/www/htmlsudo chmod -R 770 /var/www/htmlReboot Raspberry Pi
After running the command, you’ll need to log out and then log back in for the changes to take effect. To avoid any potential issues, it’s a good idea to reboot your Raspberry Pi as well.
sudo reboot